

Though most shortcuts in work are ill-advised or perceived as lazy, some have proven otherwise. As Figma has exploded in use amongst many in the design field these last few years, almost all SEP’s designers have adopted this tool in their own unique way. Like artists, designers have their own approach to the pieces they create.
Before diving into this blog all about how to use Figma shortcuts proficiently, I’d like to start by acknowledging that there is no ‘one right way’ to use this tool. These are simple tricks I felt were worth sharing that you may or may not adopt into your workflow.
As someone who is always on the lookout to improve their skills, I love to watch as other designers in the office use a flurry of commands and keyboard shortcuts. I’ll admit, there are times I watch others move so quickly that I feel the need to take Mavis Beacon Teaches Typing all over again. But that’s beside the point. In these kinds of moments, if I didn’t catch every keystroke, I always try to ask how they did it. And without fail, that person is always happy to share their little shortcut.
Small interactions like these inspired me to quickly scrape together a few of the most beloved Figma shortcuts at SEP. I sent our designers a quick survey asking for some of their favorite shortcuts and here is what they had to say (in no particular order):
Figma Shortcut #1: Paste to Replace
Paste to replace cuts the actions down from 3 to 1 (paste the object, switch to the one you want to delete, delete it ➡️ paste to replace!). This shortcut especially pairs well with designs that utilize Figma’s auto layout functionality. Whether you are swapping out an old component for its new replacement, or swapping out two entirely different components, auto layout with this shortcut will ensure that your replacement won’t disrupt the existing composition too dramatically.
Figma Shortcut #2: Scroll on Numeric Values and Color Picker
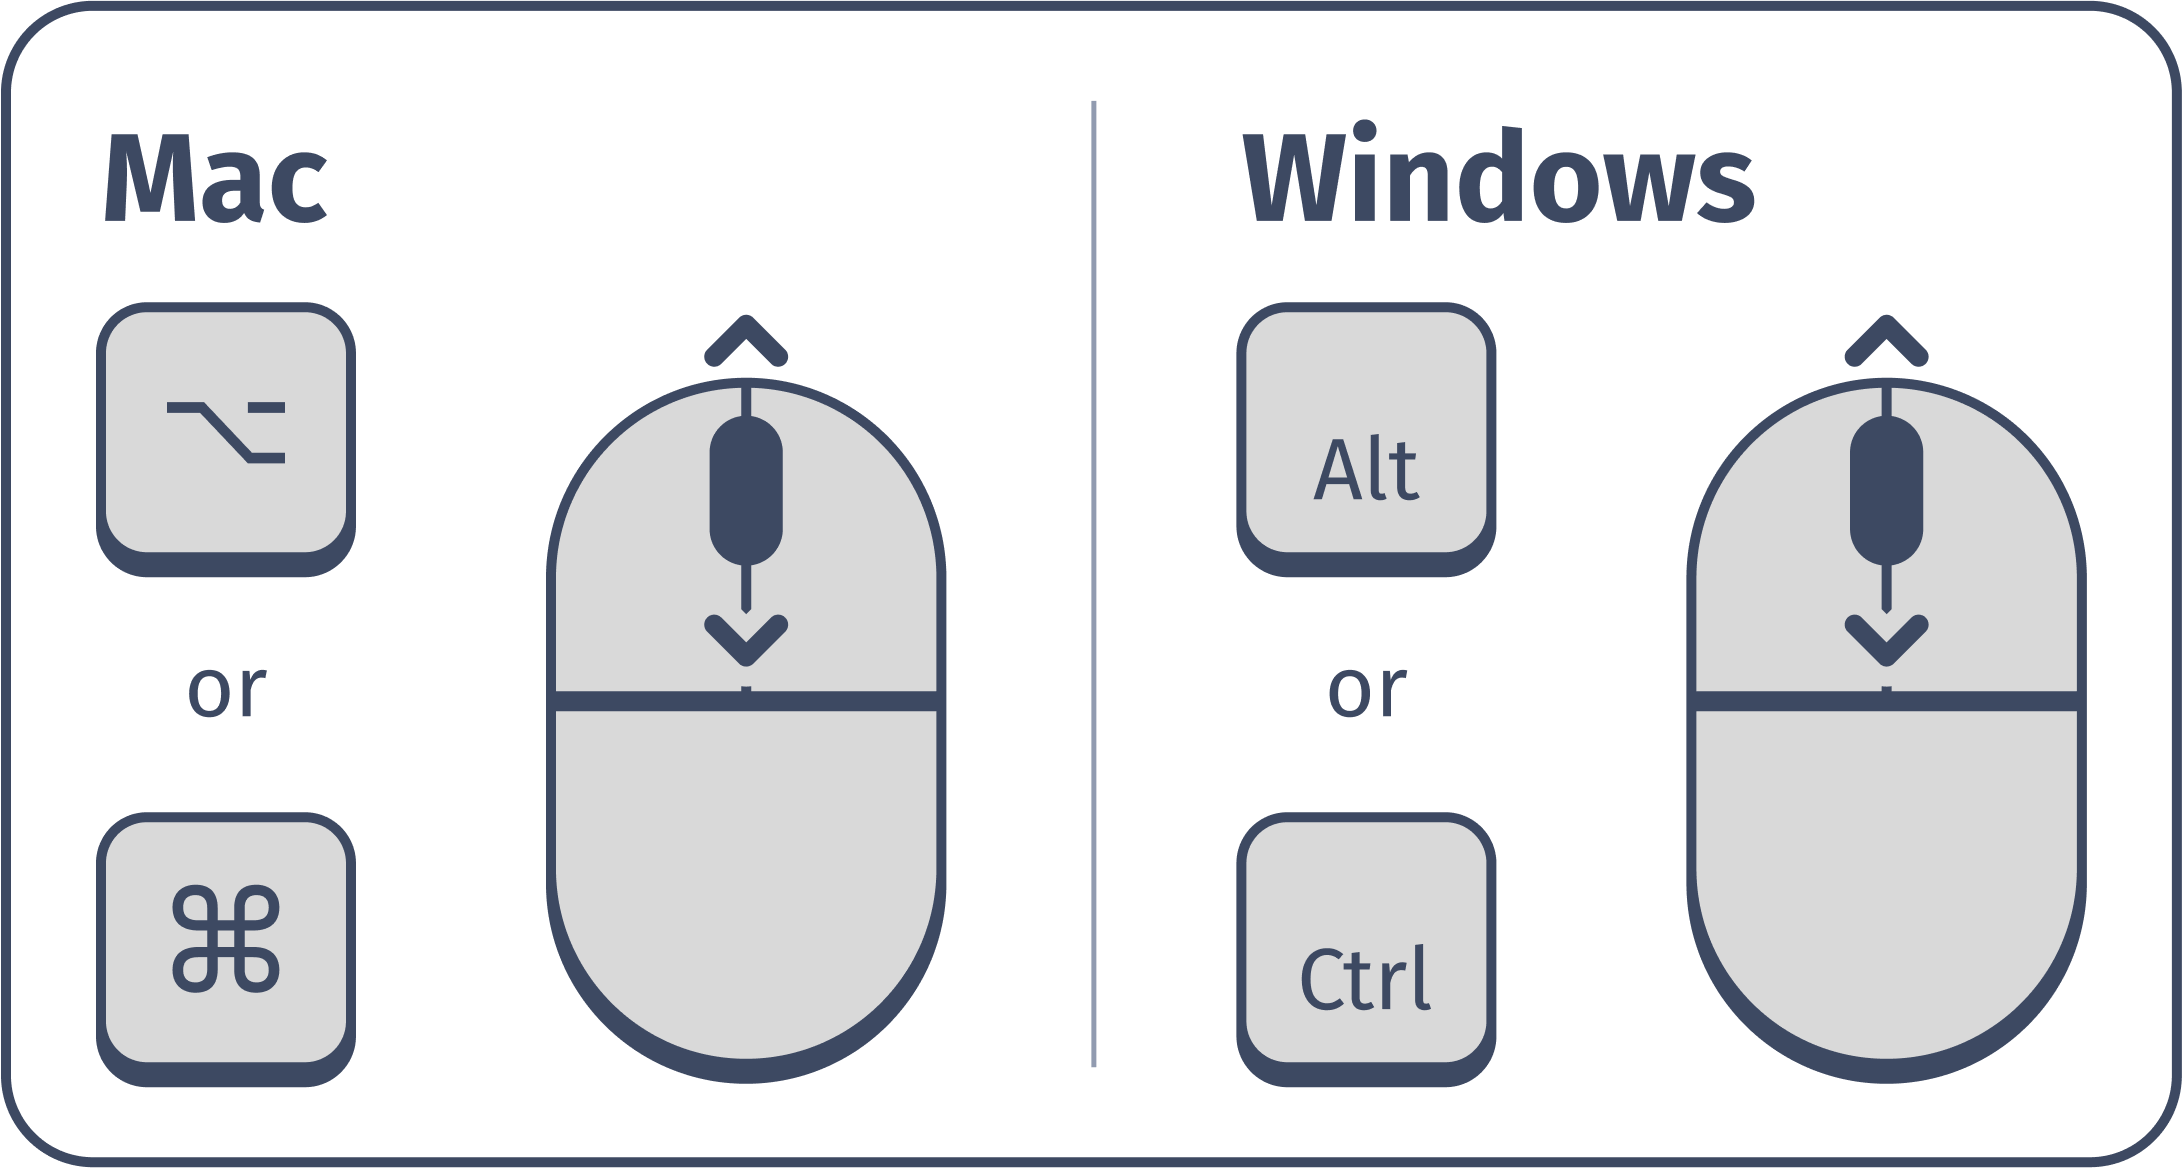
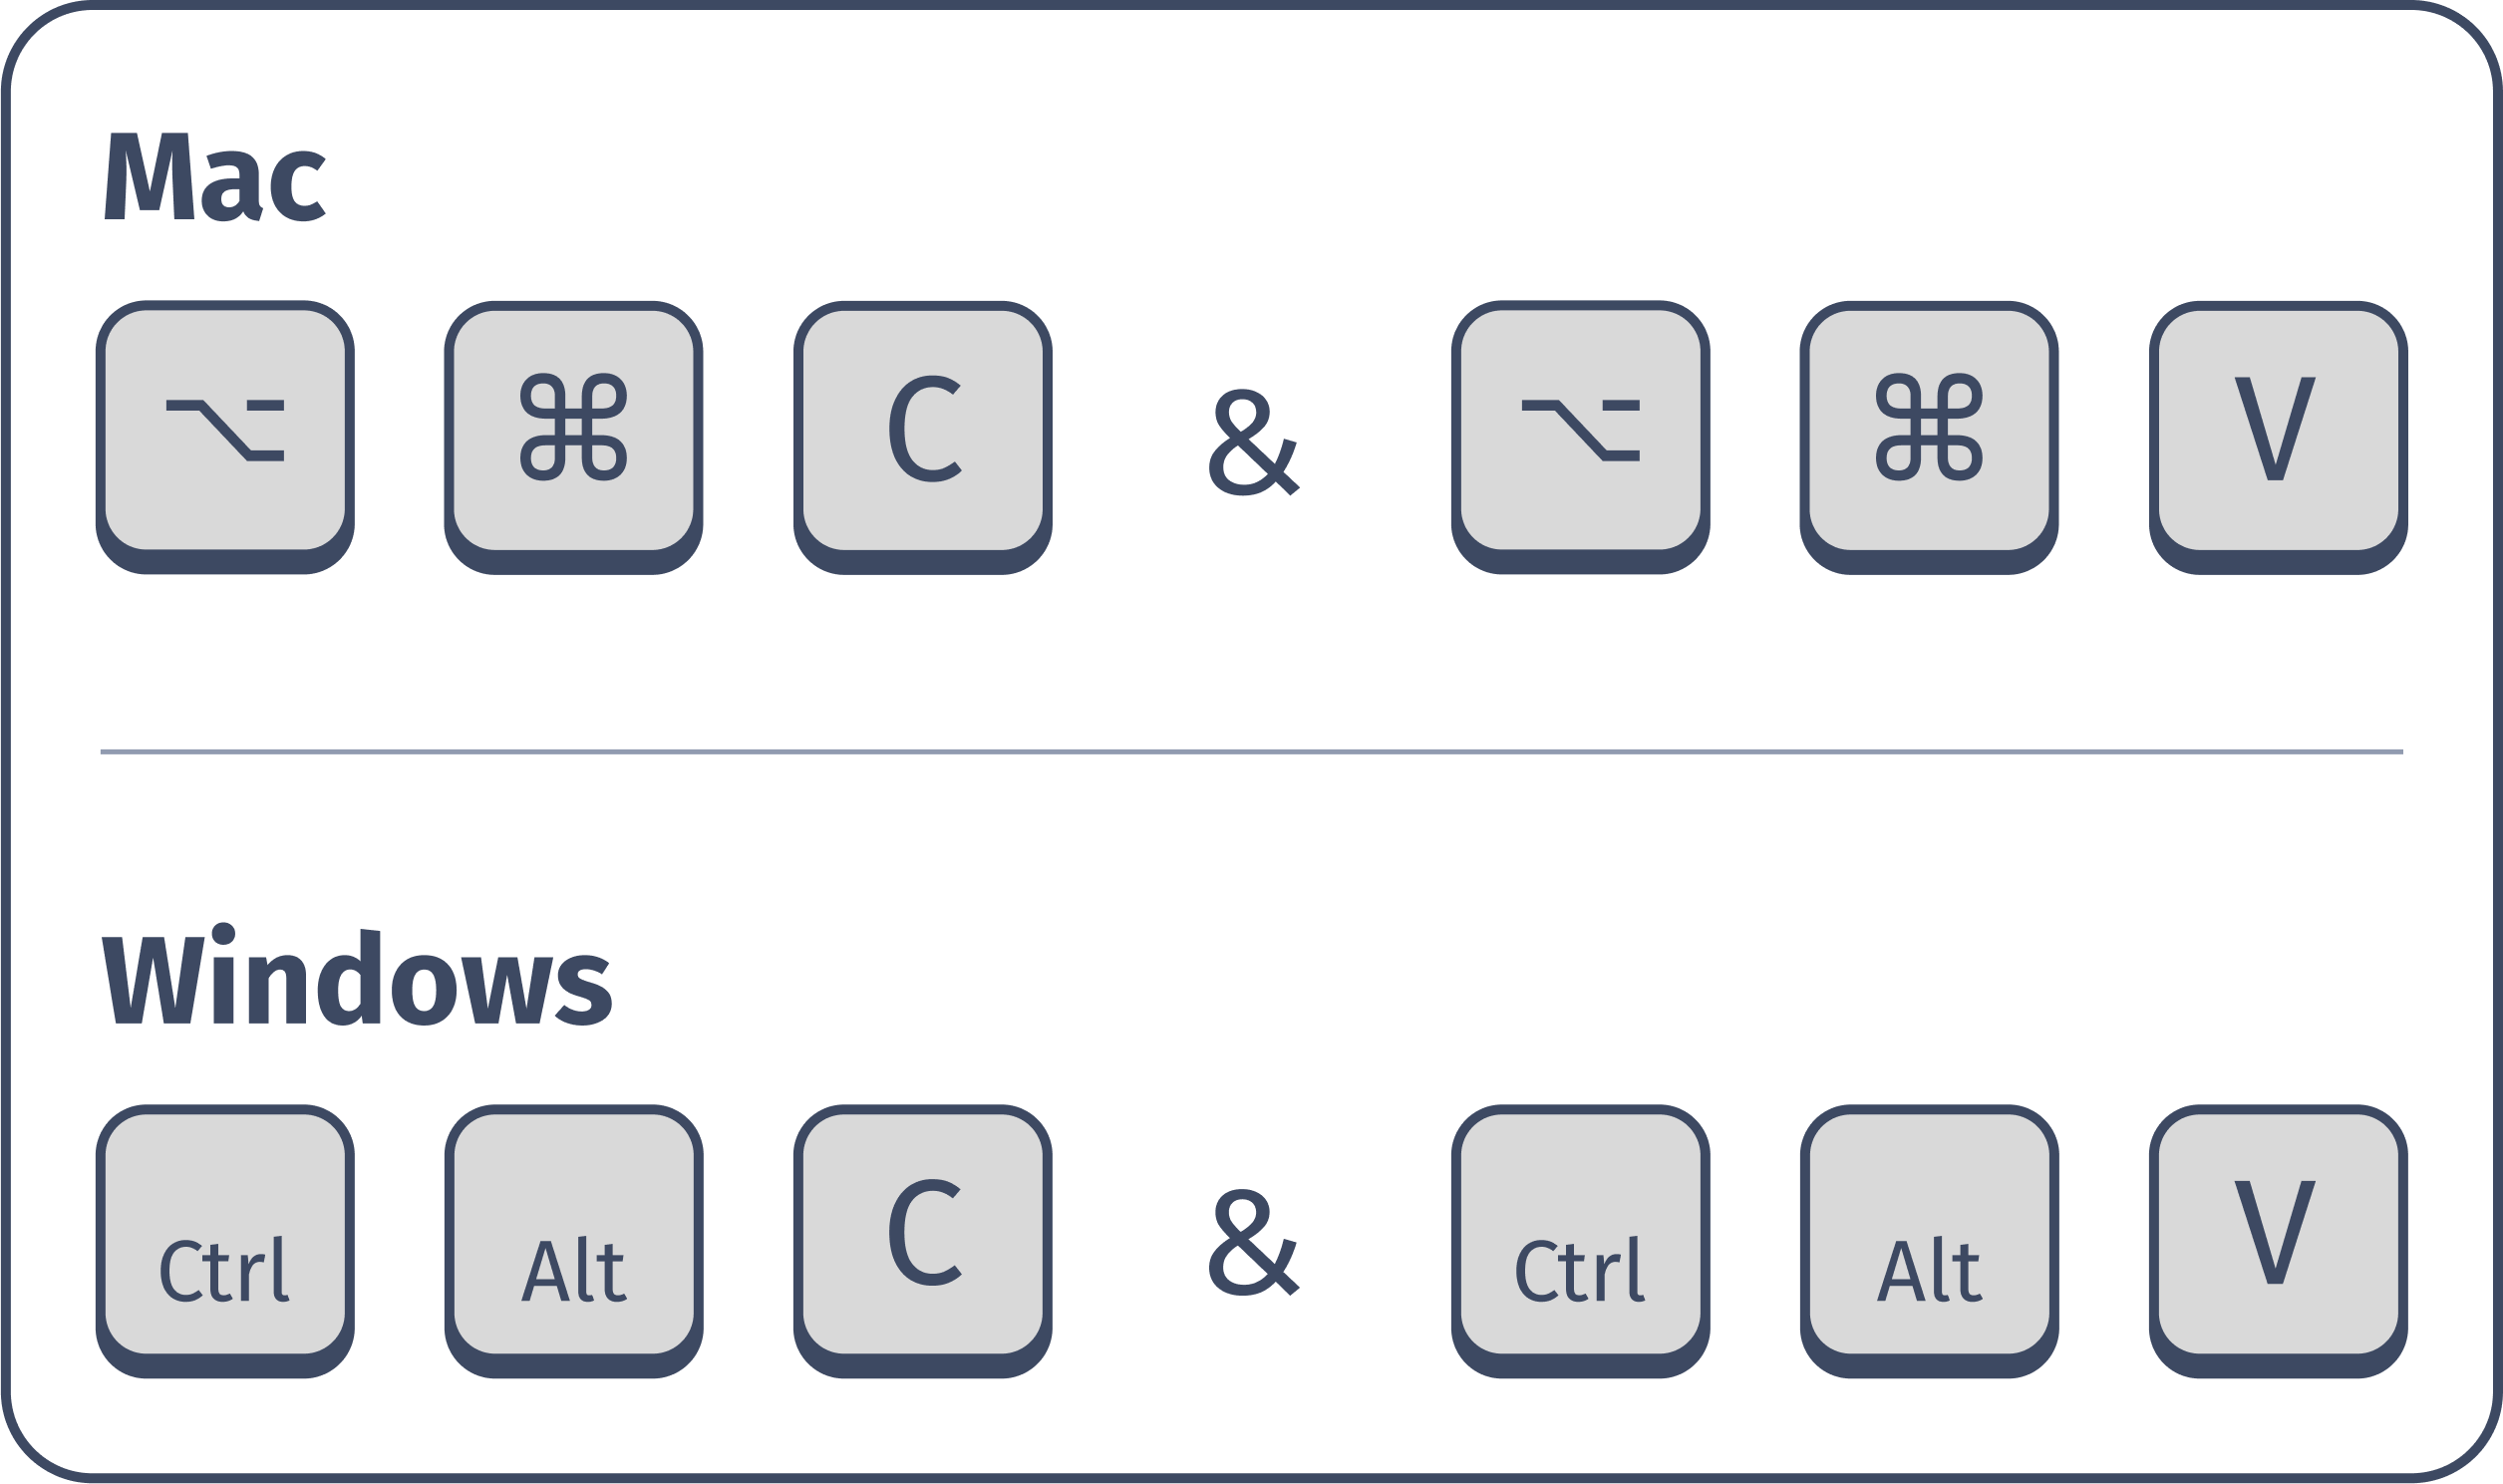
We couldn’t decide if these are shortcuts or more so nice micro-interactions, but we felt they were worth sharing. One of our designers said they frequently find themselves scrolling when hovering over the color picker HSV square to change the hue. Taking this a step further, they also mentioned holding the option key on Mac or Alt on Windows and scrolling while hovering over a number input to tweak the value. Utilizing the scroll wheel to sift through subtle changes in numeric values found throughout a design in Figma allows for rapid experimentation early on.
Figma Shortcut #3: Number Keys and Changing Opacity
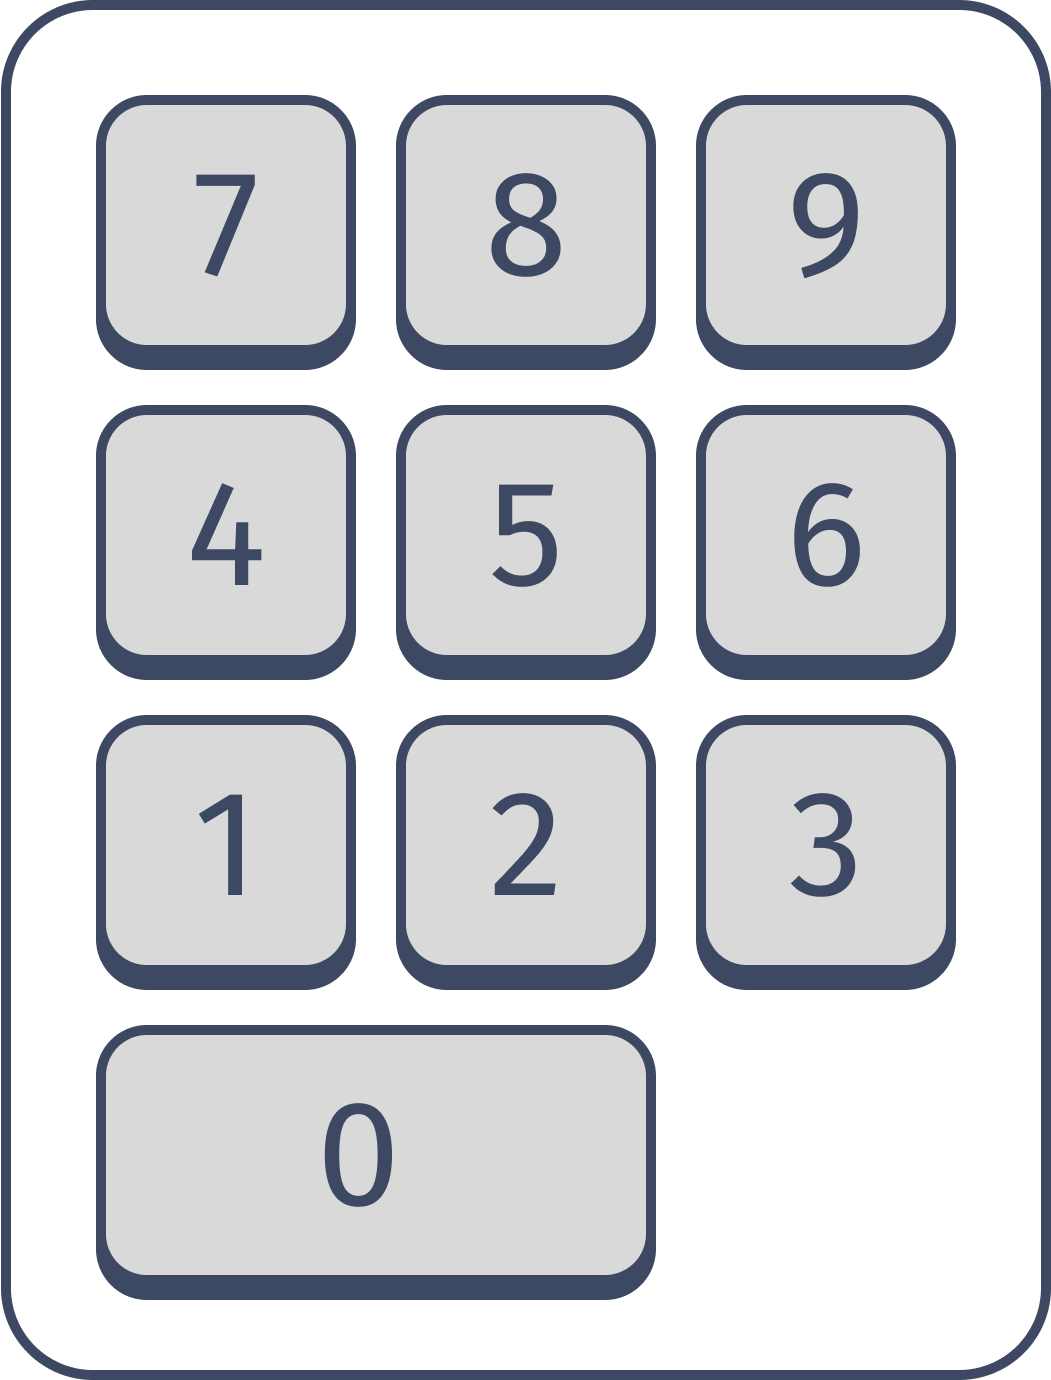
When quickly throwing together a low-fidelity prototype, a commonly shared practice is to work in greyscale. Rather than choosing a bunch of various shades of grey, I just quickly copy the same layer and change its opacity with the number keys to create color distinction between various shapes found in my early designs. For example, if I have 2 identical grey rectangles, if I press the 7 key on one it will change its opacity to 70%, whereas if I press the 4 key while selecting the other rectangle, its opacity will be set to 40%. This reduces my workflow from manually typing in percentages or working with sliders to simply 1 or 2 keystrokes. Opacity is a tricky thing in UI design, but early on when a design is first forming, I like to be loose with it when iterating on low-risk and early concepts.
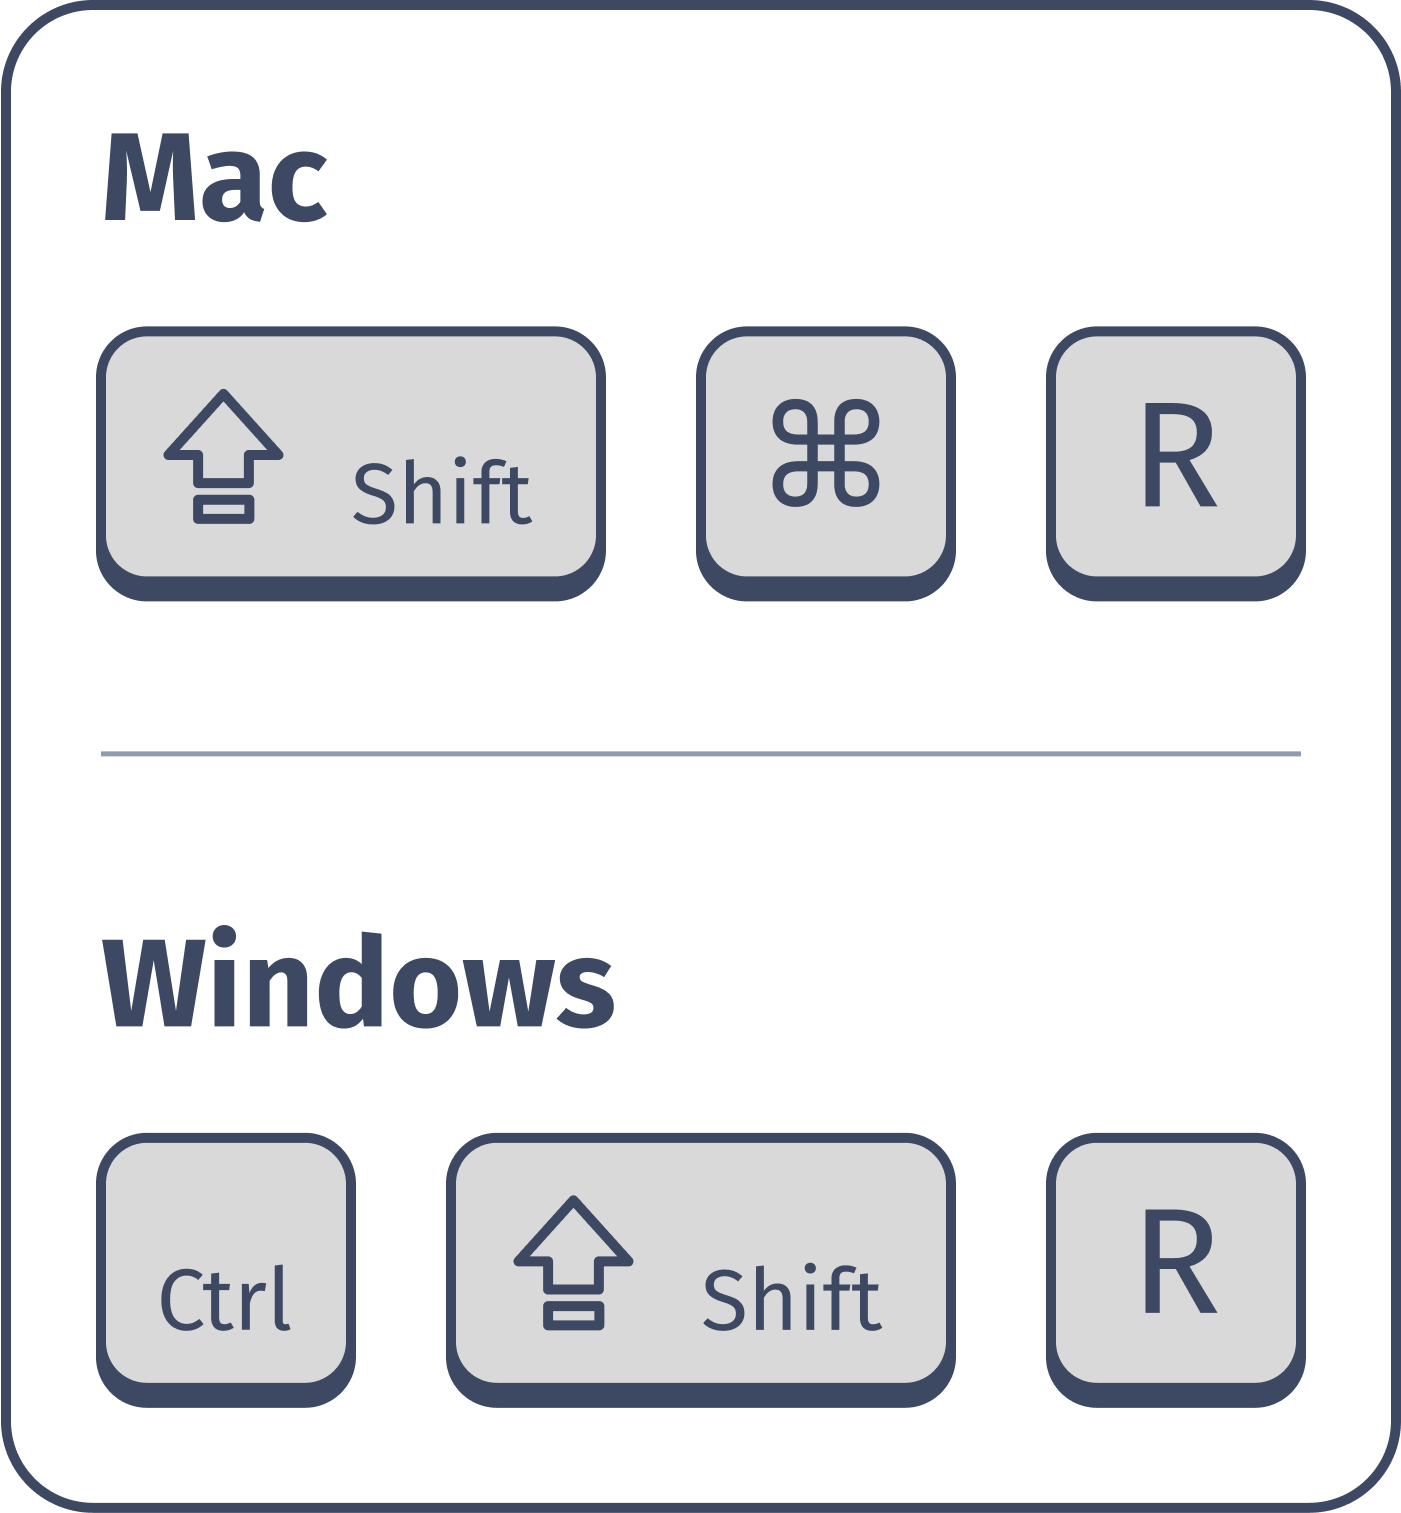
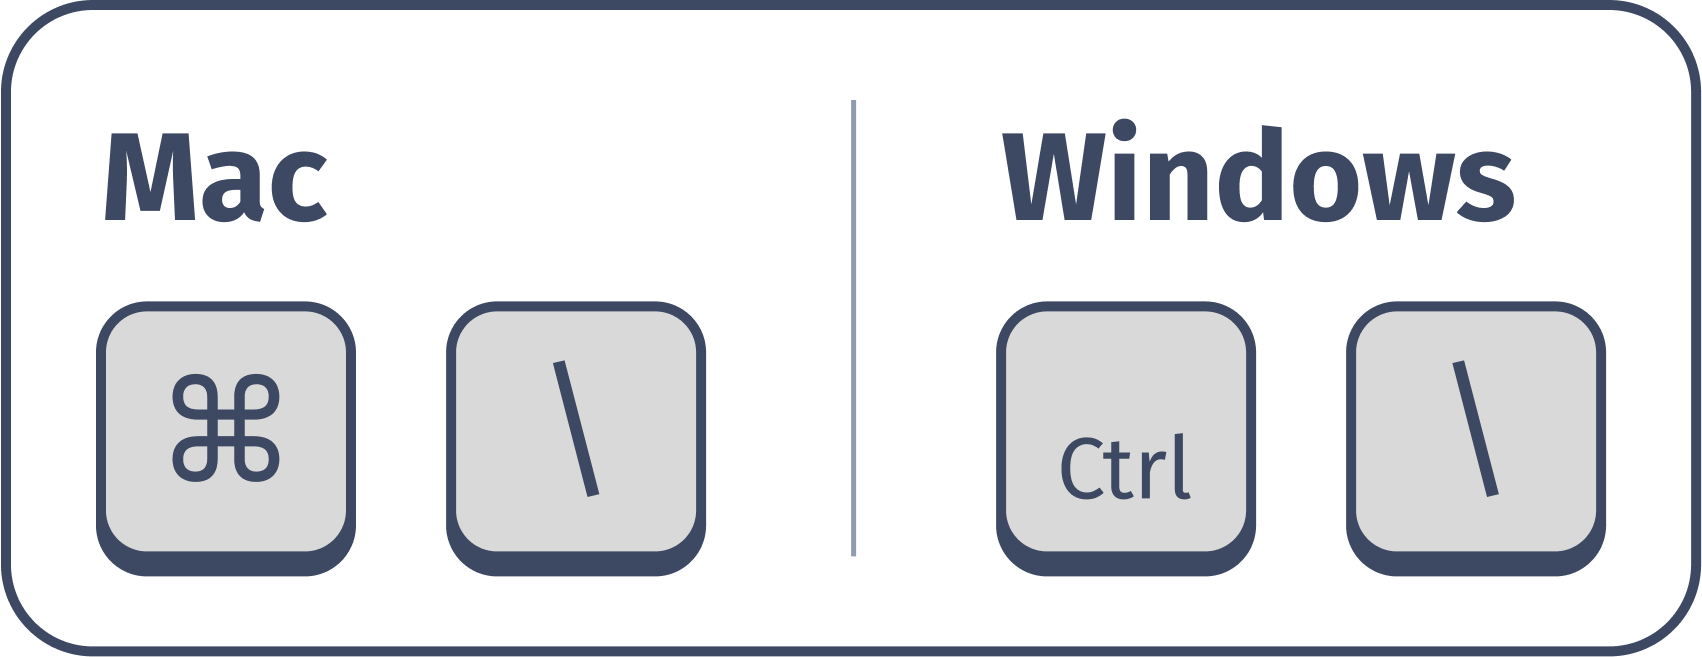
Figma Shortcut #4: Deep Select
Have you ever had a layer nested into oblivion? Well, we have a solution for you that will alleviate the aggressive click you usually do when drilling down to that child layer of text. Rather than rapid-fire clicking your mouse, hoping you land on the right layer, a more optimal way of selecting that nested layer is through Figma’s Deep Select. Use the above keyboard shortcut to give your mouse and your index finger a break.
Figma Shortcut #5: Flip Horizontal and Vertical

Though I usually default to making final illustrations in Adobe Illustrator, if I am making minor visuals, such as icons, I find these two keyboard shortcuts save me a ton of time when working on any kind of symmetrical visual. Rather than right-clicking and trying to remember what option I need to pick in the pop-up menu, this shortcut takes half the time it usually takes my eyes to find the right option. I still find myself forgetting to use it at times, but practice makes perfect… eventually.
Figma Shortcut #6: Copy and Paste Properties
There are many times when first putting a design together I find myself wanting two separate components to reflect one another. I use this shortcut to quickly achieve this. For example, If I haven’t yet componentized a standard button within my design, I will copy the properties of the latest iteration and then paste those properties to all other instances of that button that are now out of date.
I would caution against becoming too reliant on this shortcut much beyond the early stages of a design. Once you get more than a few pages into a design littered with 20+ instances of that button, it is probably about time you convert it to a component within the project’s library. Yes, it is more upfront work, but when you only have to change the main component rather than all of its instances, you will be thanking yourself you did that work ahead of time.
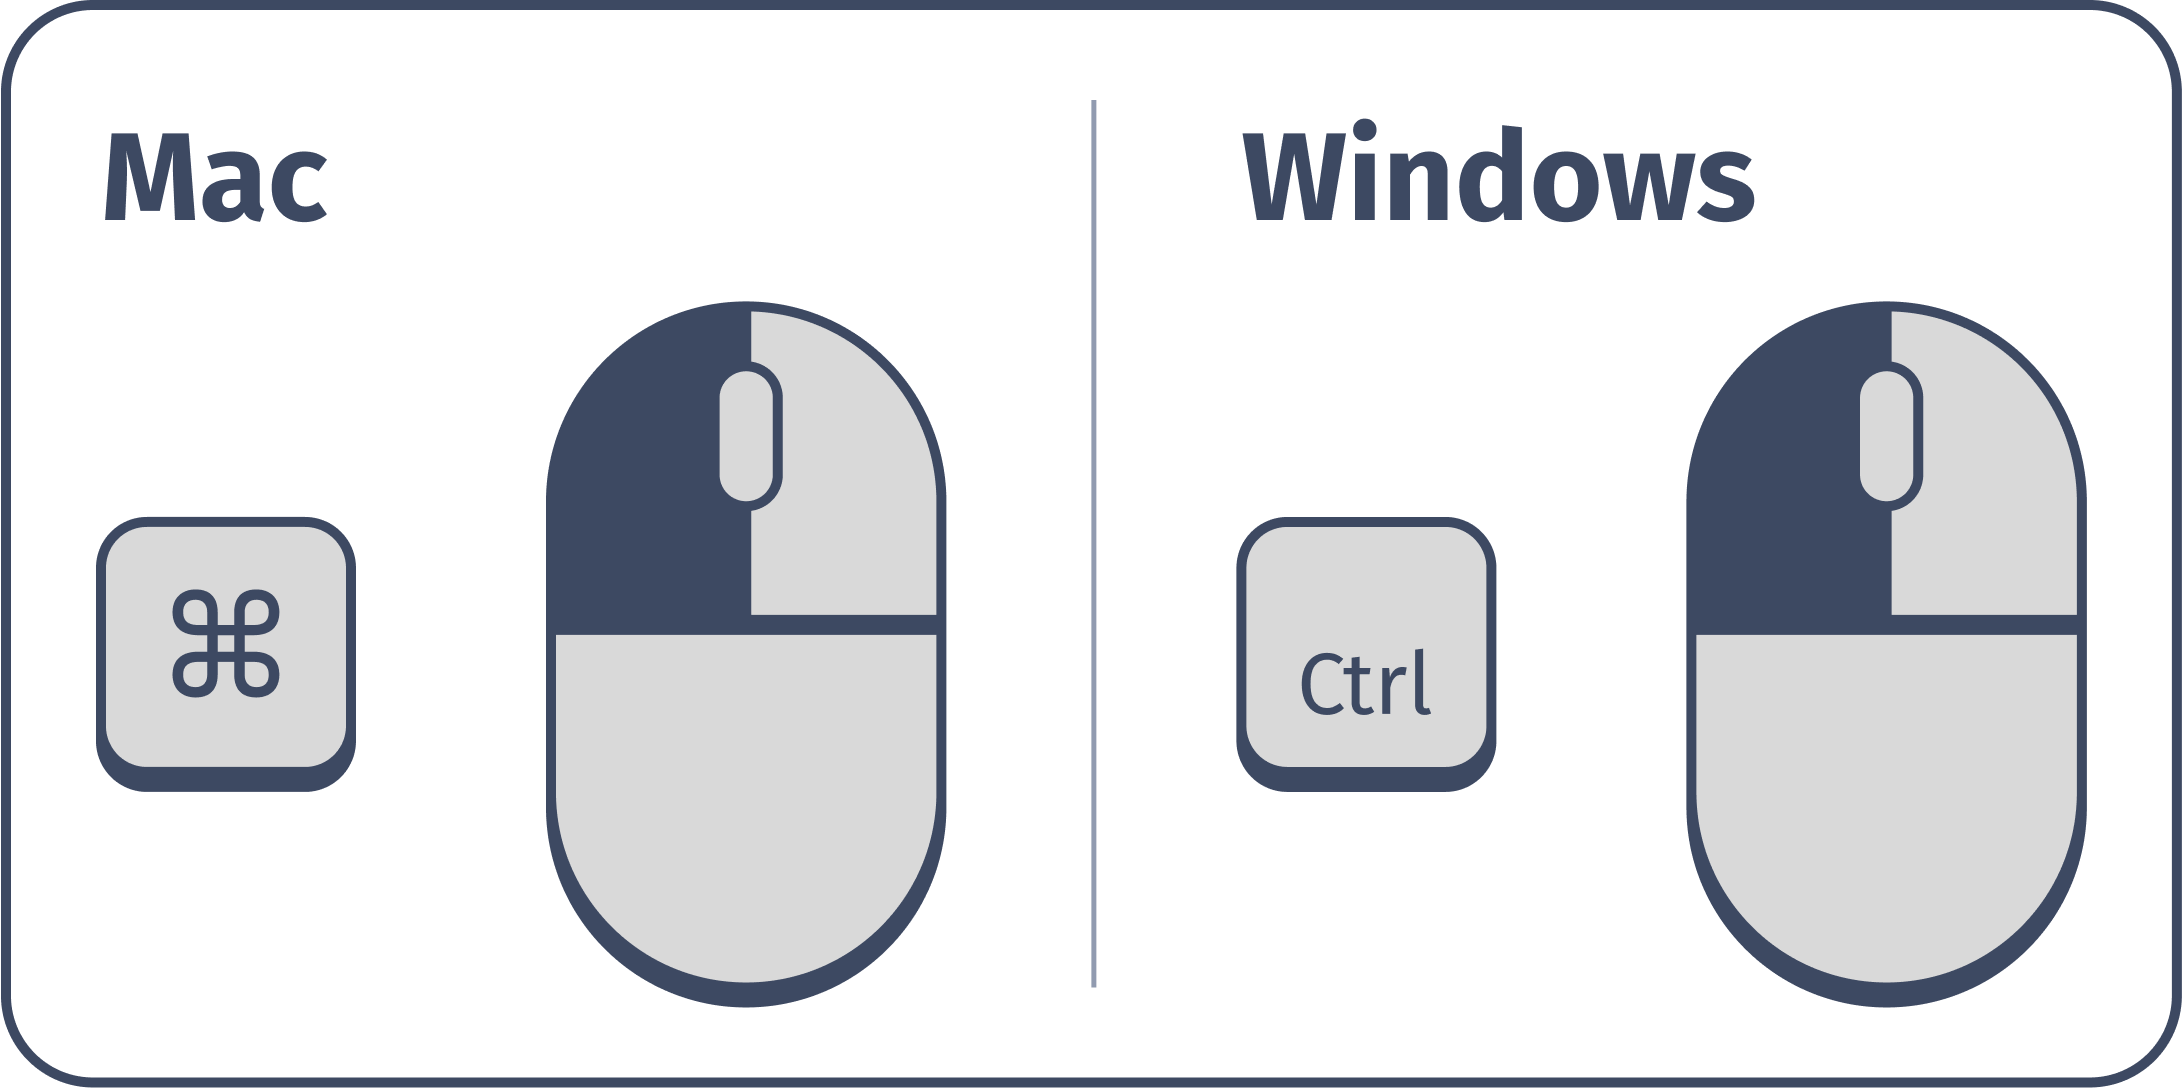
Figma Shortcut #7: Eyedropper Tool Anywhere

If you have yet to set up your color styles in your latest Figma project, this shortcut allows you to quickly access the eyedropper tool with one keystroke – plus, you don’t have to worry about memorizing HEX codes or RGB values. This little trick allows for rapid movement and creation within Figma early on while also driving toward a coherent look to your early mockups.
When color styles do come into play later in a design’s life, note that the eye dropper does not recognize styles and will instead use a detached instance of that style’s color even when selecting a component with a set color style.
Figma Shortcut #8: Hide UI
If you are like me, you are most likely overly anxious about sharing your screen and having wandering eyes focus on the wrong thing. To mitigate distractions when presenting designs within Figma, many designers here silence their pop-up notifications but also take it a step further by hiding Figma’s UI. This then allows the presenter to have full control over what the audience is choosing to look at when sharing their screen.
Figma Shortcut #9: Send to Back & Bring to Front
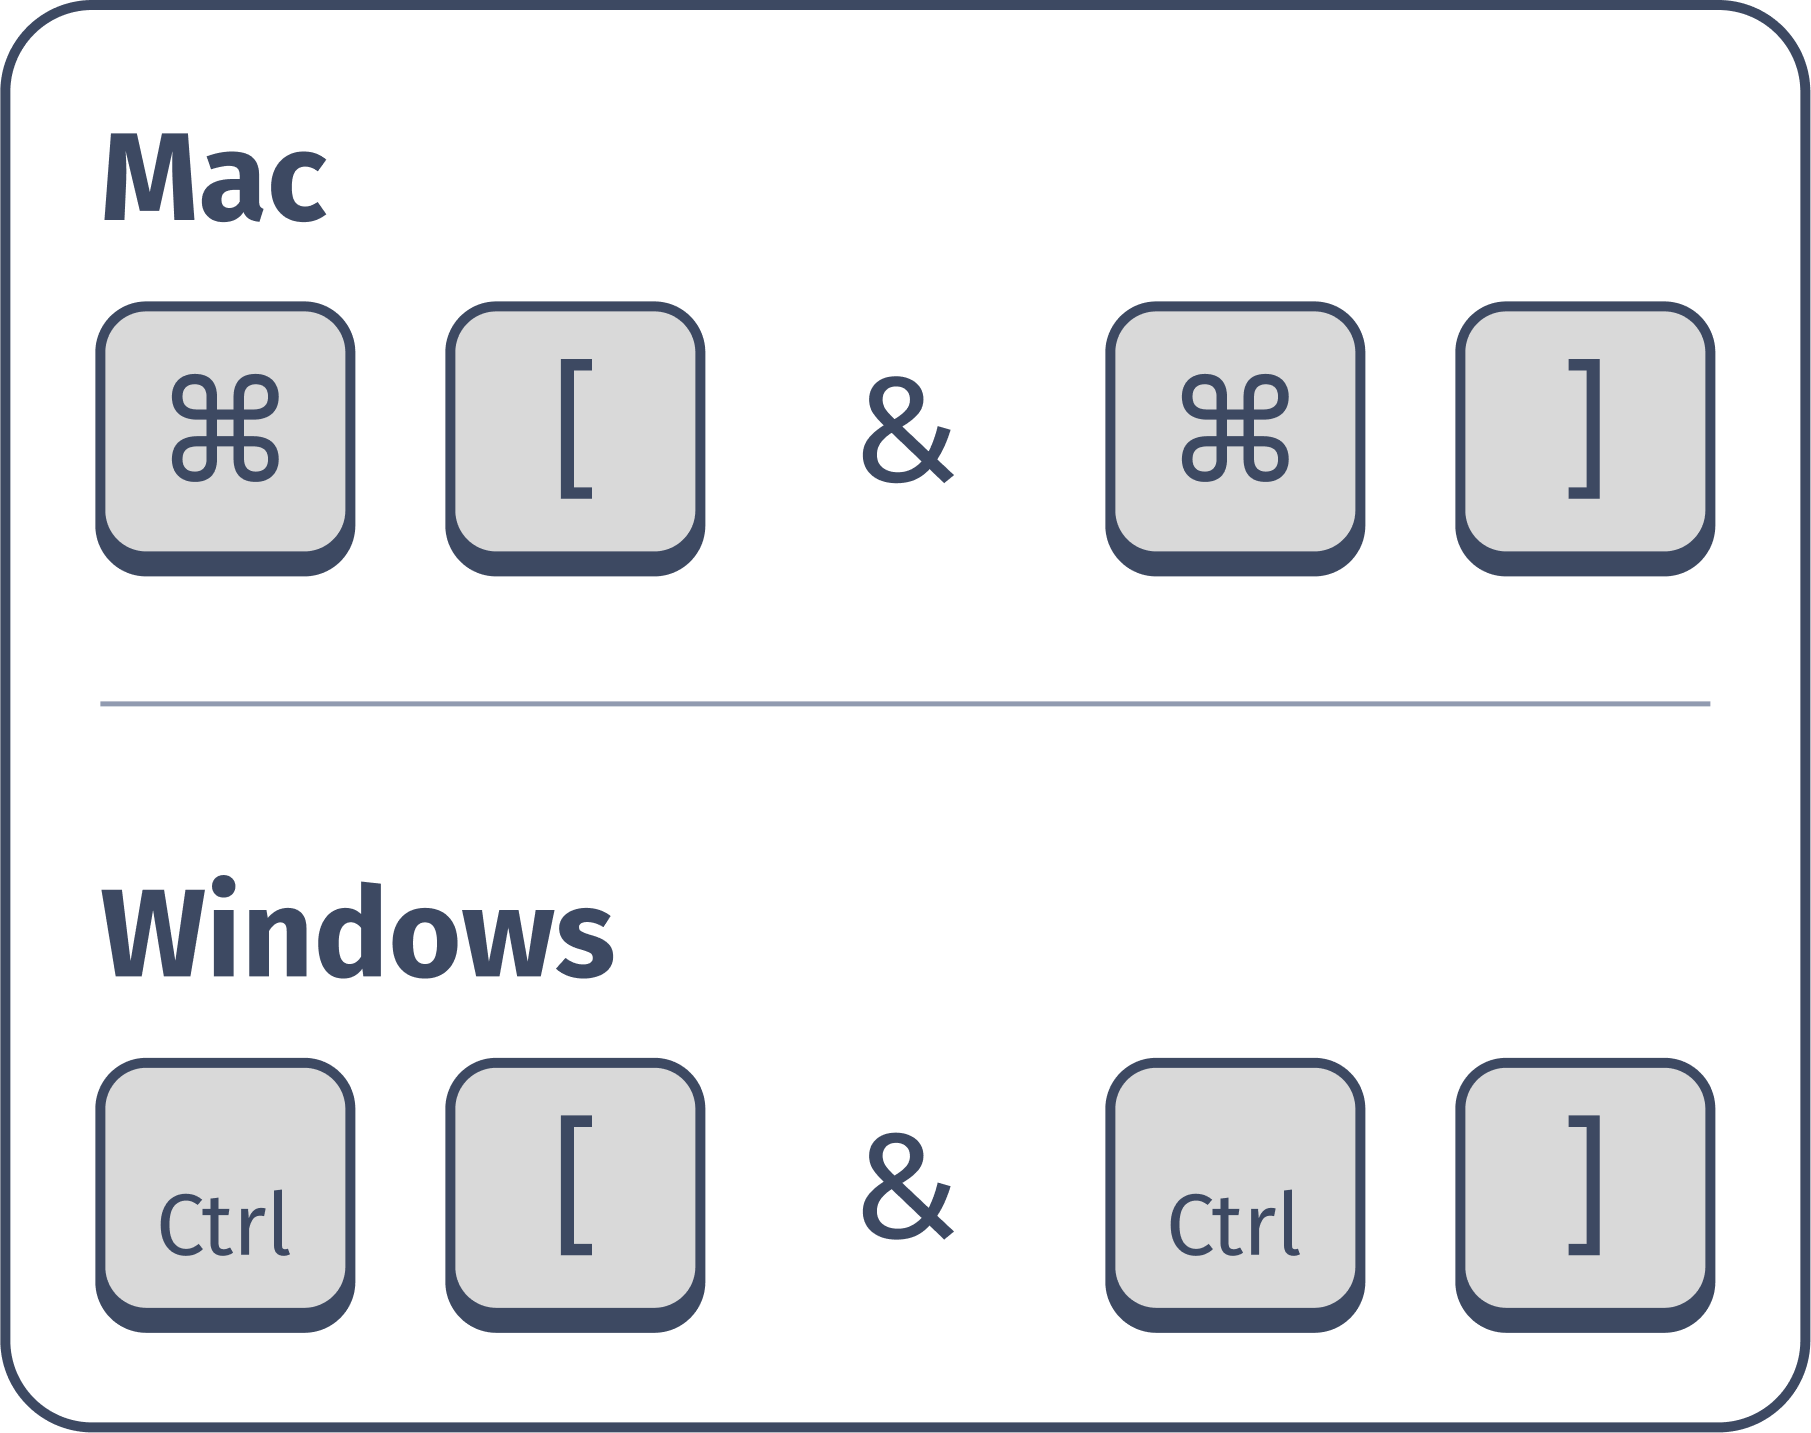
Sometimes a little shift is all a layer needs to be set in the perfect spot. Rather than relying on right-clicking and being presented with a menu of 20+ options for your eyes to parse through, use these shortcuts to give your eyes a rest. For me, this shortcut translated from Adobe Illustrator where I also had to manage the organization of my design’s layers. If you don’t need to be so fine-tuned in the way you are organizing layers, use these [ and ] by themselves to shift a layer all the way to the back or all the way to the front.
Figma Shortcut #10: Apply Auto Layout

Should you use auto layout or should you not? Ultimately the choice is up to the designer, but if you are going to use it, here is a little shortcut that will cut down the time it takes to implement this layout feature. You will still need to adjust the layout details within Figma’s right sidebar, but utilizing auto layout in this way makes it a snappy way to achieve your desired layout without the constant pixel pushing and minor alignment adjustments. Let auto layout take the brunt of that work for you.
If you have a complex design that isn’t so grid-based, auto layout might not be the best solution for you. Though this functionality is great at times, do not feel obligated to use it in all your designs, especially the more experimental ones!
Bonus Shortcut: Copy & Paste
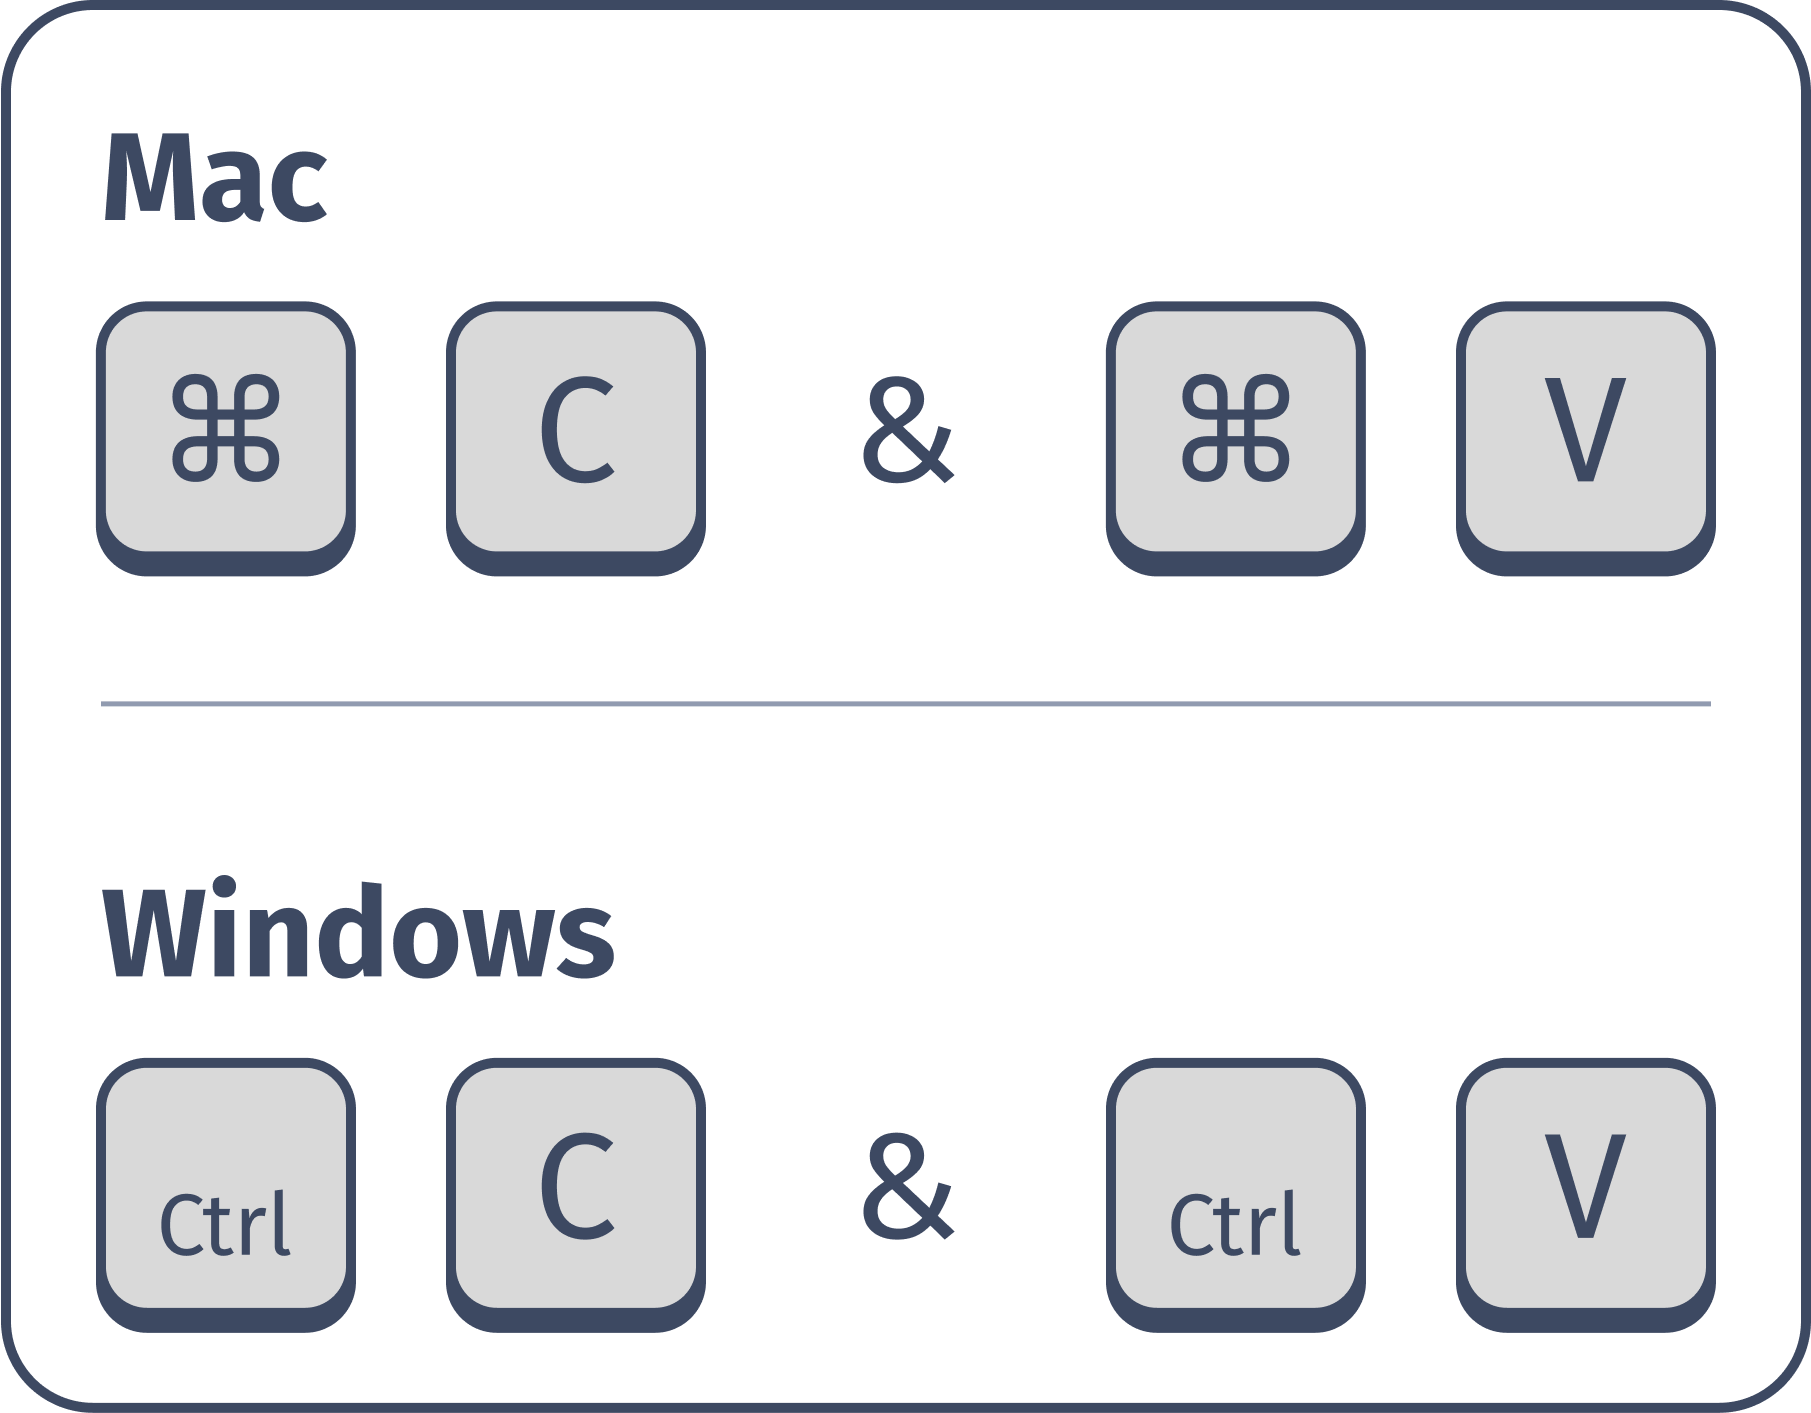
There isn’t much to say about this one, but it felt like it had to be in this list of shortcuts. If you are not already using it, start using it quickly. And although these two shortcuts are a great way to pick up speed when designing there is a way to do it even faster. Simply hold the option key on Mac or Alt key on Windows, before selecting and dragging the item you are wanting to make a duplicate of within Figma. It will make a lot of your tasks much, much faster. With the amount of iterating we do as designers, this should be a default muscle memory that is core to the way you work. I know I stated earlier that you don’t have to use all of these, but this one is as close to a requirement as it gets.
Bonus Shortcut: View Shortcuts Panel
Early on when I was first picking up Figma, this shortcut was a go-to for me. Though it clutters the screen a bit, it pulls up a handy little guide to remind you of commonly used keyboard shortcuts. Rather than having to look them up every time, I would just keep this shortcut panel up while first getting used to the tool. I don’t think it will be for everyone, but it felt worth mentioning.
Wrapping Up
There are far more shortcuts beyond the ones mentioned in this list. I would encourage anyone who has read this far to experiment and find shortcuts that best fit the way they work in Figma. If you have one you like that didn’t make its way into this blog, feel free to share it with me and others on LinkedIn!
To wrap up, do not feel like you have to memorize all of these shortcuts to be a “good” designer. Yes, it is important to work efficiently, but that should never come at the sacrifice of quality. Everyone is going to work within Figma a little differently. The most important thing you can do for yourself when picking up a new tool is to truly spend time with it and be disciplined in learning it. Just like every other skill out there, practice makes perfect. And just because someone uses the tool a little differently than you, doesn’t always mean one way is better than the other. Now go try some of these out for yourself and stay curious!