Part 1, Part 2, Part 3, Part 4
You’ll probably want to have more than one screen in your application. In the framework there a a couple of ways of accomplishing this, but I’m going to stick to one particular flavor for this post. I’m going to go over accomplishing some basic navigation using a navigation controller and segues. Of the various approaches I’ve been trying out, it’s the one I like the best.
In the last post we had a single view in our application. To expand on that go ahead and drag a Navigation controller into the storyboard.
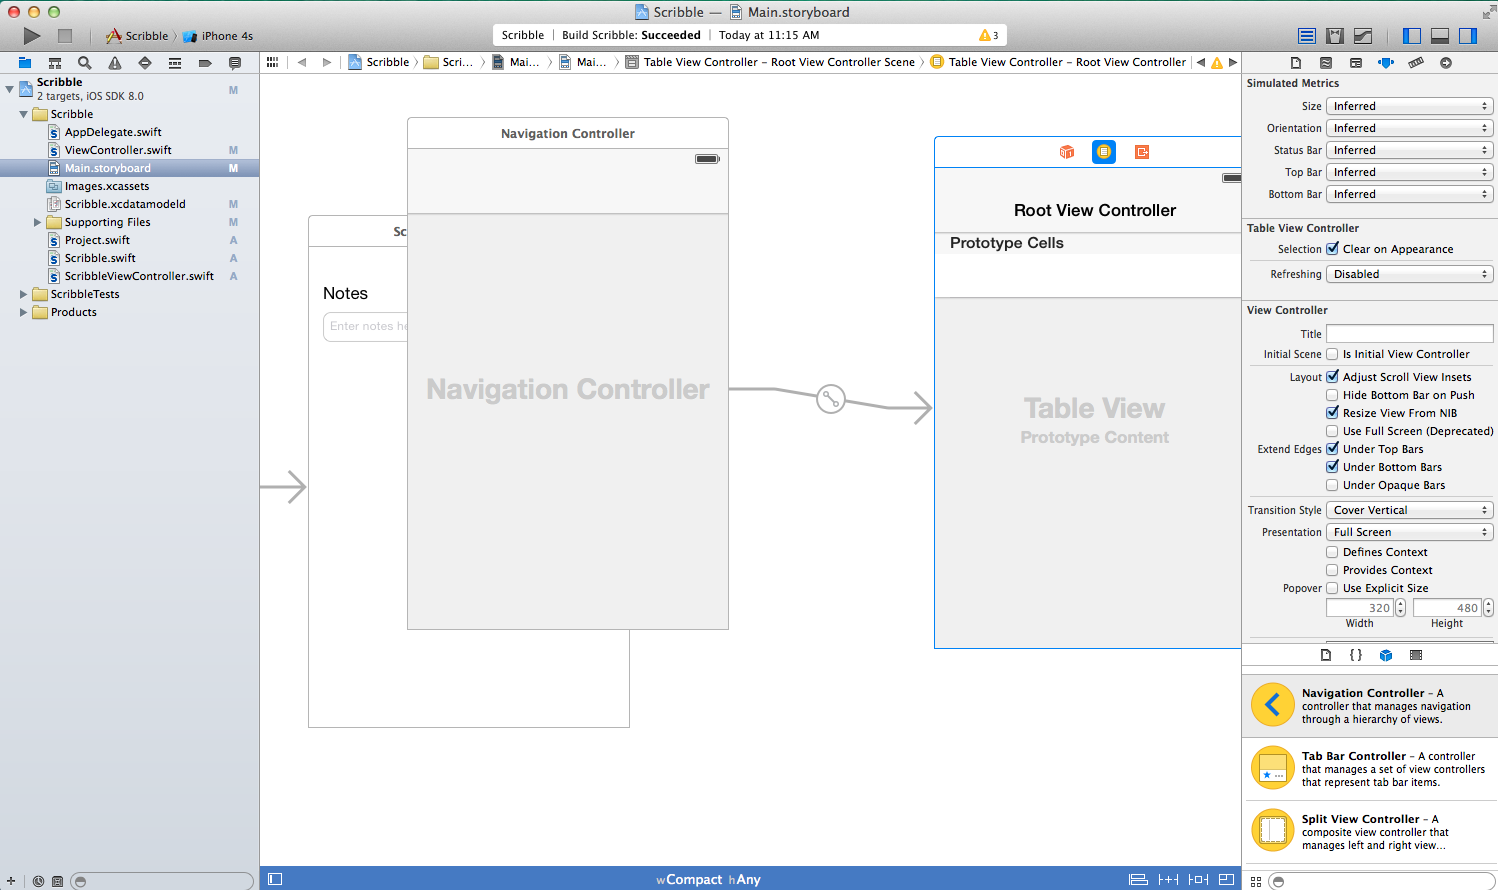
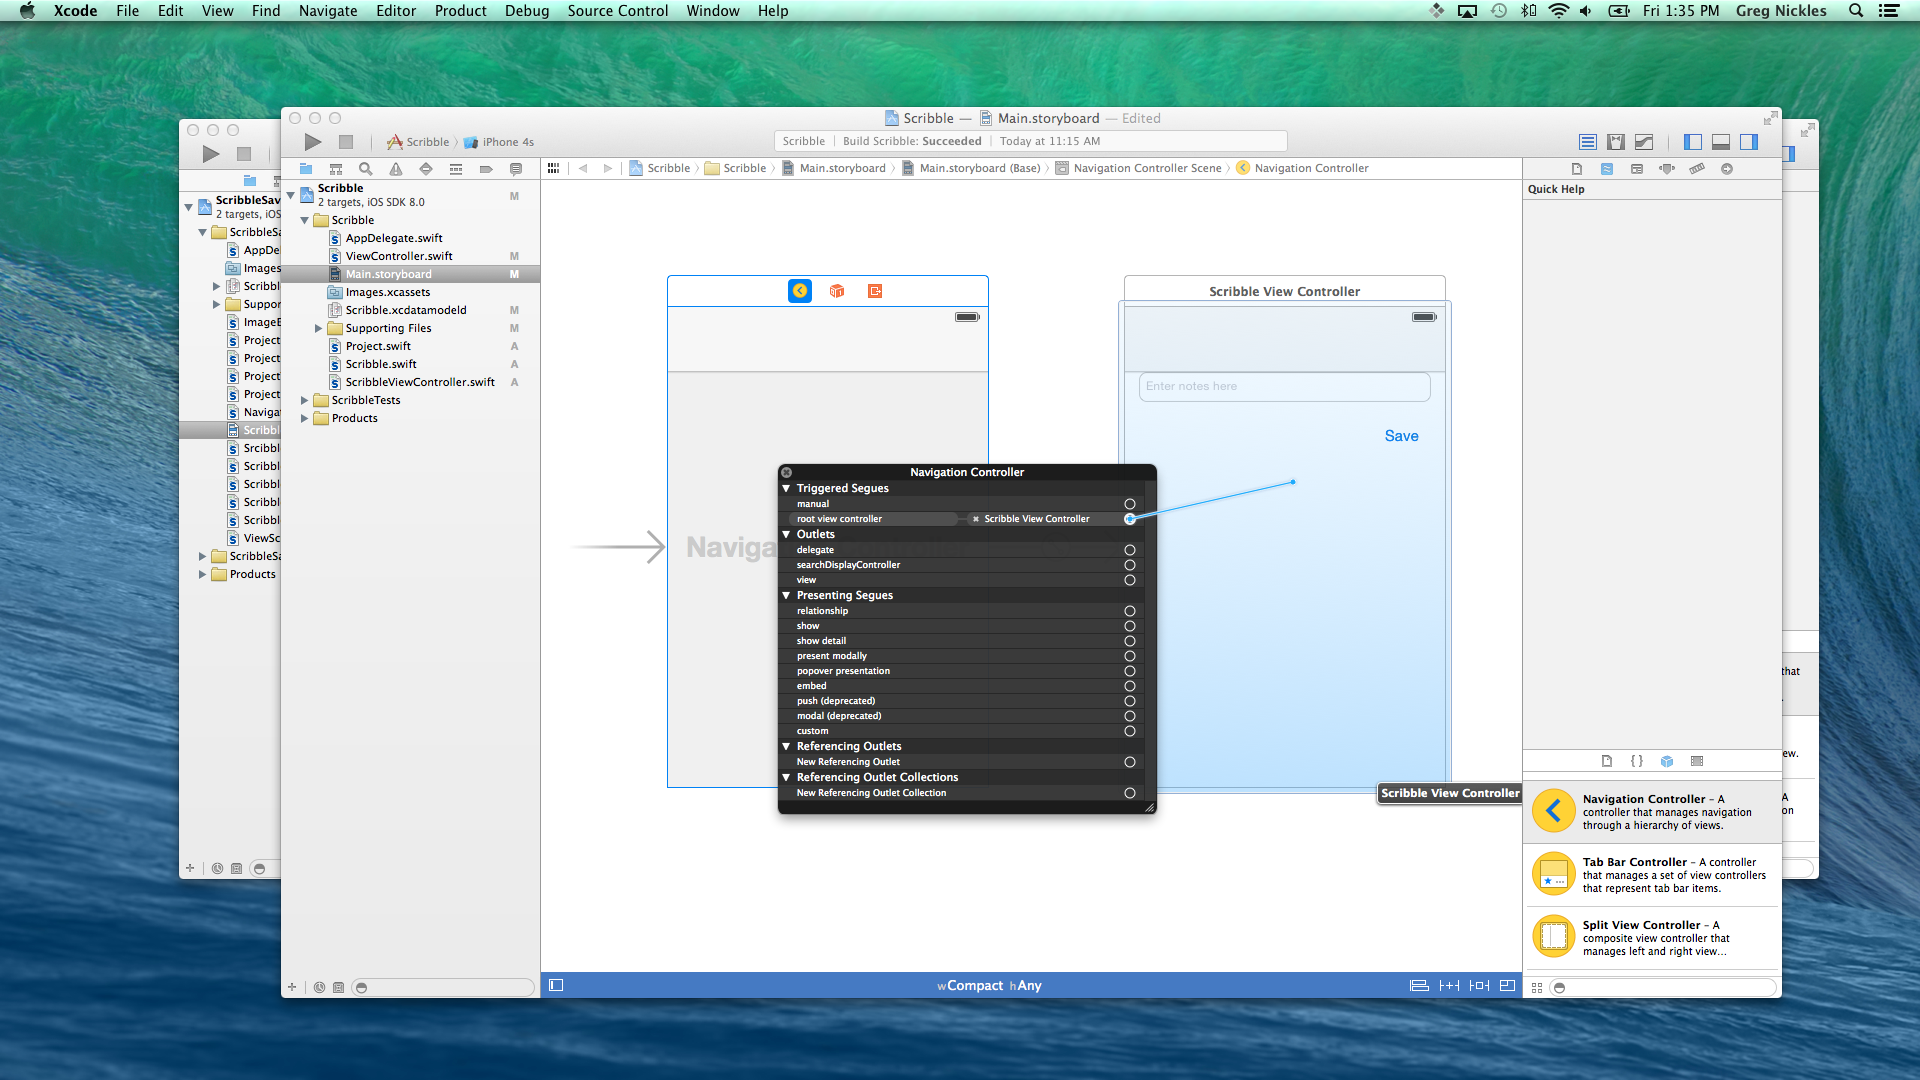
The navigation controller will come with a free Table View, but we don’t need it right now. Go ahead and delete it. Then make the navigation controller your initial view by dragging the incoming gray arrow from the previous initial view. Pull up the right click delegates menu on the navigation controller. You should see an item under “Segues”, called “root view controller.” Drag that over to your Scribble View Controller. Now you have a new root view for your navigation workflow.
Select the Navigation Controller and under the Attributes Inspector, find the “Shows Navigation Bar” check box and make sure it is checked. This will make the default navigation bar visible, allowing for back button clicks without having to implement them manually.
You’ve probably noticed, that when you connected the navigation controller to the existing view controller you got a gray box across the top of the view. This is the reserved space for the navigation bar. In the object library, go find the Bar Button Item and drag it into the gray box of your view controller. Give it the name “next”. Go ahead and add another view controller to the storyboard as well.
Now we are going to add a Segue from the first view to the second. Right click on the new Bar Button Item you created and find the “action” item under “Triggered Segues”. Drag that to the new view you added.
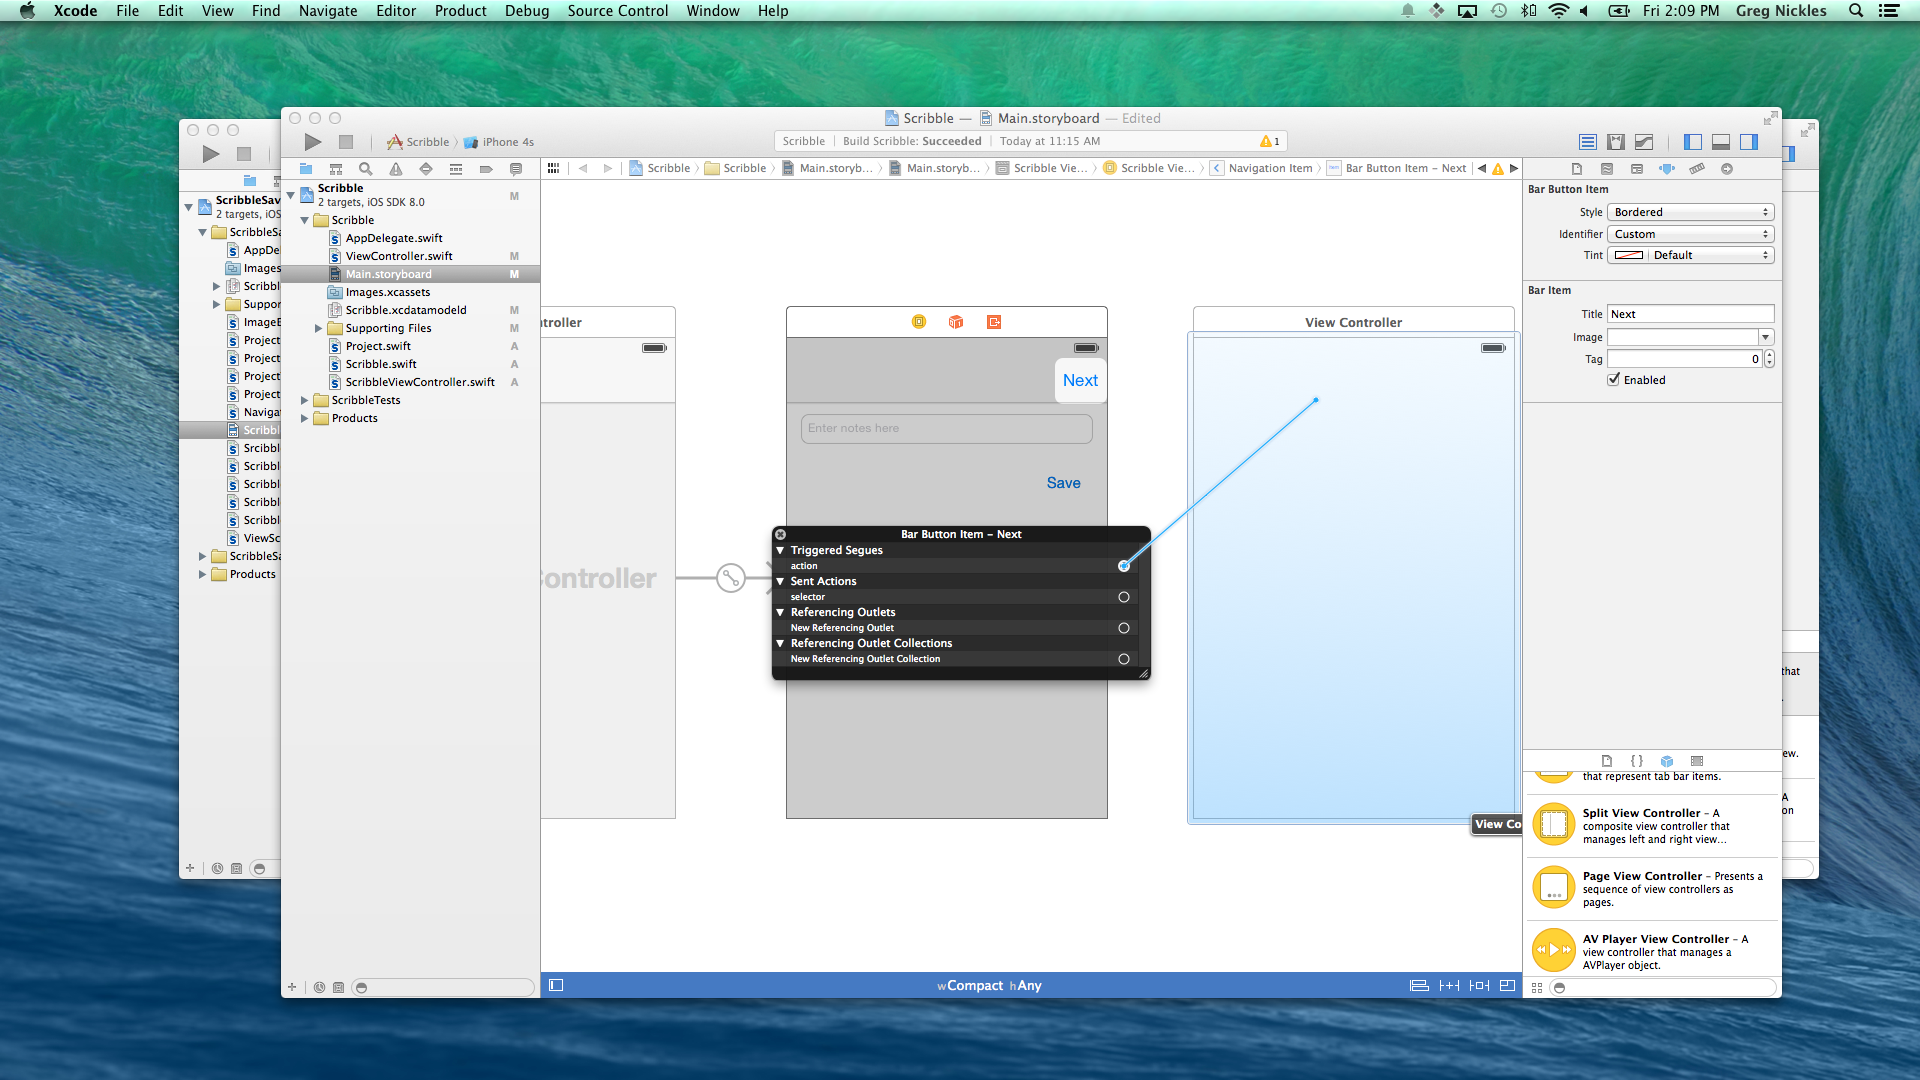
When you do this, you’ll get a second popup to define the type of navigation to perform. We’re going to pick “show” for now.

You are now all set to navigate between the two screens. The back button is already implemented for you as part of the navigation controller’s functionality. Go run it and see.
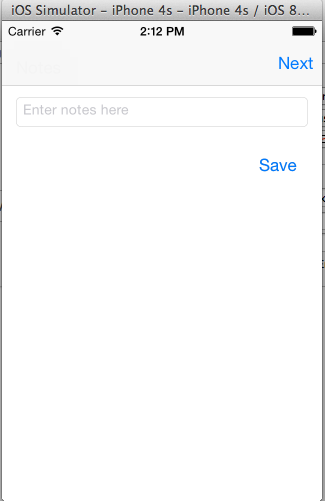
Click Next.

Then back to the root view.
You don’t have to segue only from the buttons in the navigation bar. You can apply the same action to any buttons on your screen.
You can respond to both leaving and entering a view in your view controllers. To push some data for the next view, you need to override the prepareForSegue method. You’ll also have to select the segue in your storyboard and give it an identifier. For example in my app I have a segue called sequeScribbleImage that navigates the user to a full screen view of their scribble. In my view controller that is about to be navigated away from, I set up the next view’s scribbleImage field.

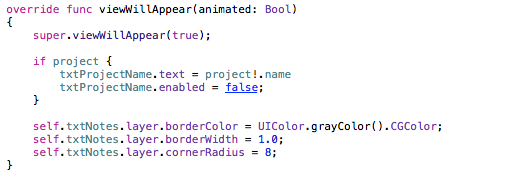
When you want to do some processing right before an view is shown, then you can override viewWillAppear in your controller.
This is just the tip of the iceberg when it comes to navigation. You can use a tabbed or paged view paradigm instead of using a view controller. Most of this interaction can be handled programatically. And you can even create custom segue objects to perform even more complex operations when you navigate. Hopefully this is enough to get you started. I’ll see you again in part 6.
